


Birding Fundamentals: Binoculars 101
Whether you call them binos or bins—master your optics to catch every detail

Welcome to the birdy side of the internet! The second week of every month is dedicated to birding fundamentals—skills and knowledge that go beyond identification, which we focus on the week prior. These core topics help build the foundation for greater success and enjoyment in the field. This week, we skim the surface with a 101 on binoculars. For some, it’s a refresher; for others, we hope to demystify this indispensable tool of the trade. We’ll also share a standout birding moment from New England and take a quick look at birding the seasons—topics we’re excited to explore more deeply as the Birding University ecosystem grows.
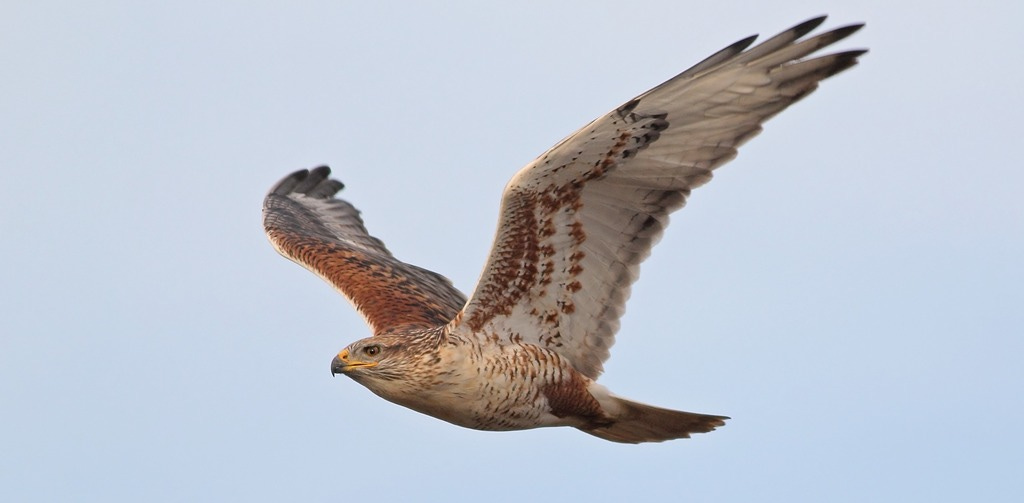
This Week in Birding History: Far-flung Ferruginous Hawks
July 14, 2024 — Last week, we covered an impressive shorebird encounter from Oregon to highlight summertime shorebird movements in North America. Post-breeding raptors are also on the move this time of year, and one year ago, birders Gary Jarvis, Camden Martin, and Christine Murray made history when they encountered Maine’s first state record of a Ferruginous Hawk. This species of arid, open country rarely ventures east of Minnesota, let alone the Appalachian Mountains, and eBird contains only six other “far eastern” records of Ferruginous Hawk in summer (June-July):
Washington Island, Wisconsin - June 24, 1965
Moosonee, Ontario - July 17, 2019
Ensley Center area, Michigan - June 5, 2023
North Fairfield, Ohio - June 13, 2023
North Bethlehem Township, Pennsylvania - June 19, 2023
New Cumberland, West Virginia - July 5, 2023
Amazingly, the last four records in 2023 are all of the same bird, who was nicknamed “Erieau.” According to eBird, birders have observed other wandering Ferruginous Hawks east of the Appalachian Mountains twice in spring (March-May) and five times in winter (December-February), with winter records coming from Florida, Virginia, New York, and Massachusetts.
Birding Tip: Embracing the Seasons
If you’ve read past issues of the Birding University newsletter, you’ve likely encountered insights into the different seasons in a bird’s life cycle. One of the most enriching ways to grow as a birder is to embrace those seasons, not just as shifts in weather, but as the rhythms and patterns that shape bird behavior throughout the year.
Birds are intimately tied to seasonal change. By attuning yourself to these cycles, you’ll sharpen your skills, deepen your ecological understanding, and build a more dynamic connection to the natural world. From the buzzing excitement of pre-breeding migration to the quiet secrets of the non-breeding grounds, each season offers its lessons—and its kind of wonder.
Breeding Season
The breeding season is one of the most dynamic and rewarding times of year to observe birds. It’s a time of drama and delight, a period of courtship, competition, and new life—when birds are at their most vocal and visible. Males and females sing persistently to establish territories and attract mates, making this a prime opportunity to learn songs and calls.
Nest-building, food provisioning, and fledgling antics all offer chances to witness intimate moments in a bird’s life cycle. These behaviors also provide valuable insight into habitat preferences and ecological roles. Whether you’re watching a wren carry nesting material or a warbler defend its patch with song, the breeding season invites birders to slow down and deepen their understanding of the birds around them.
Non-Breeding Season
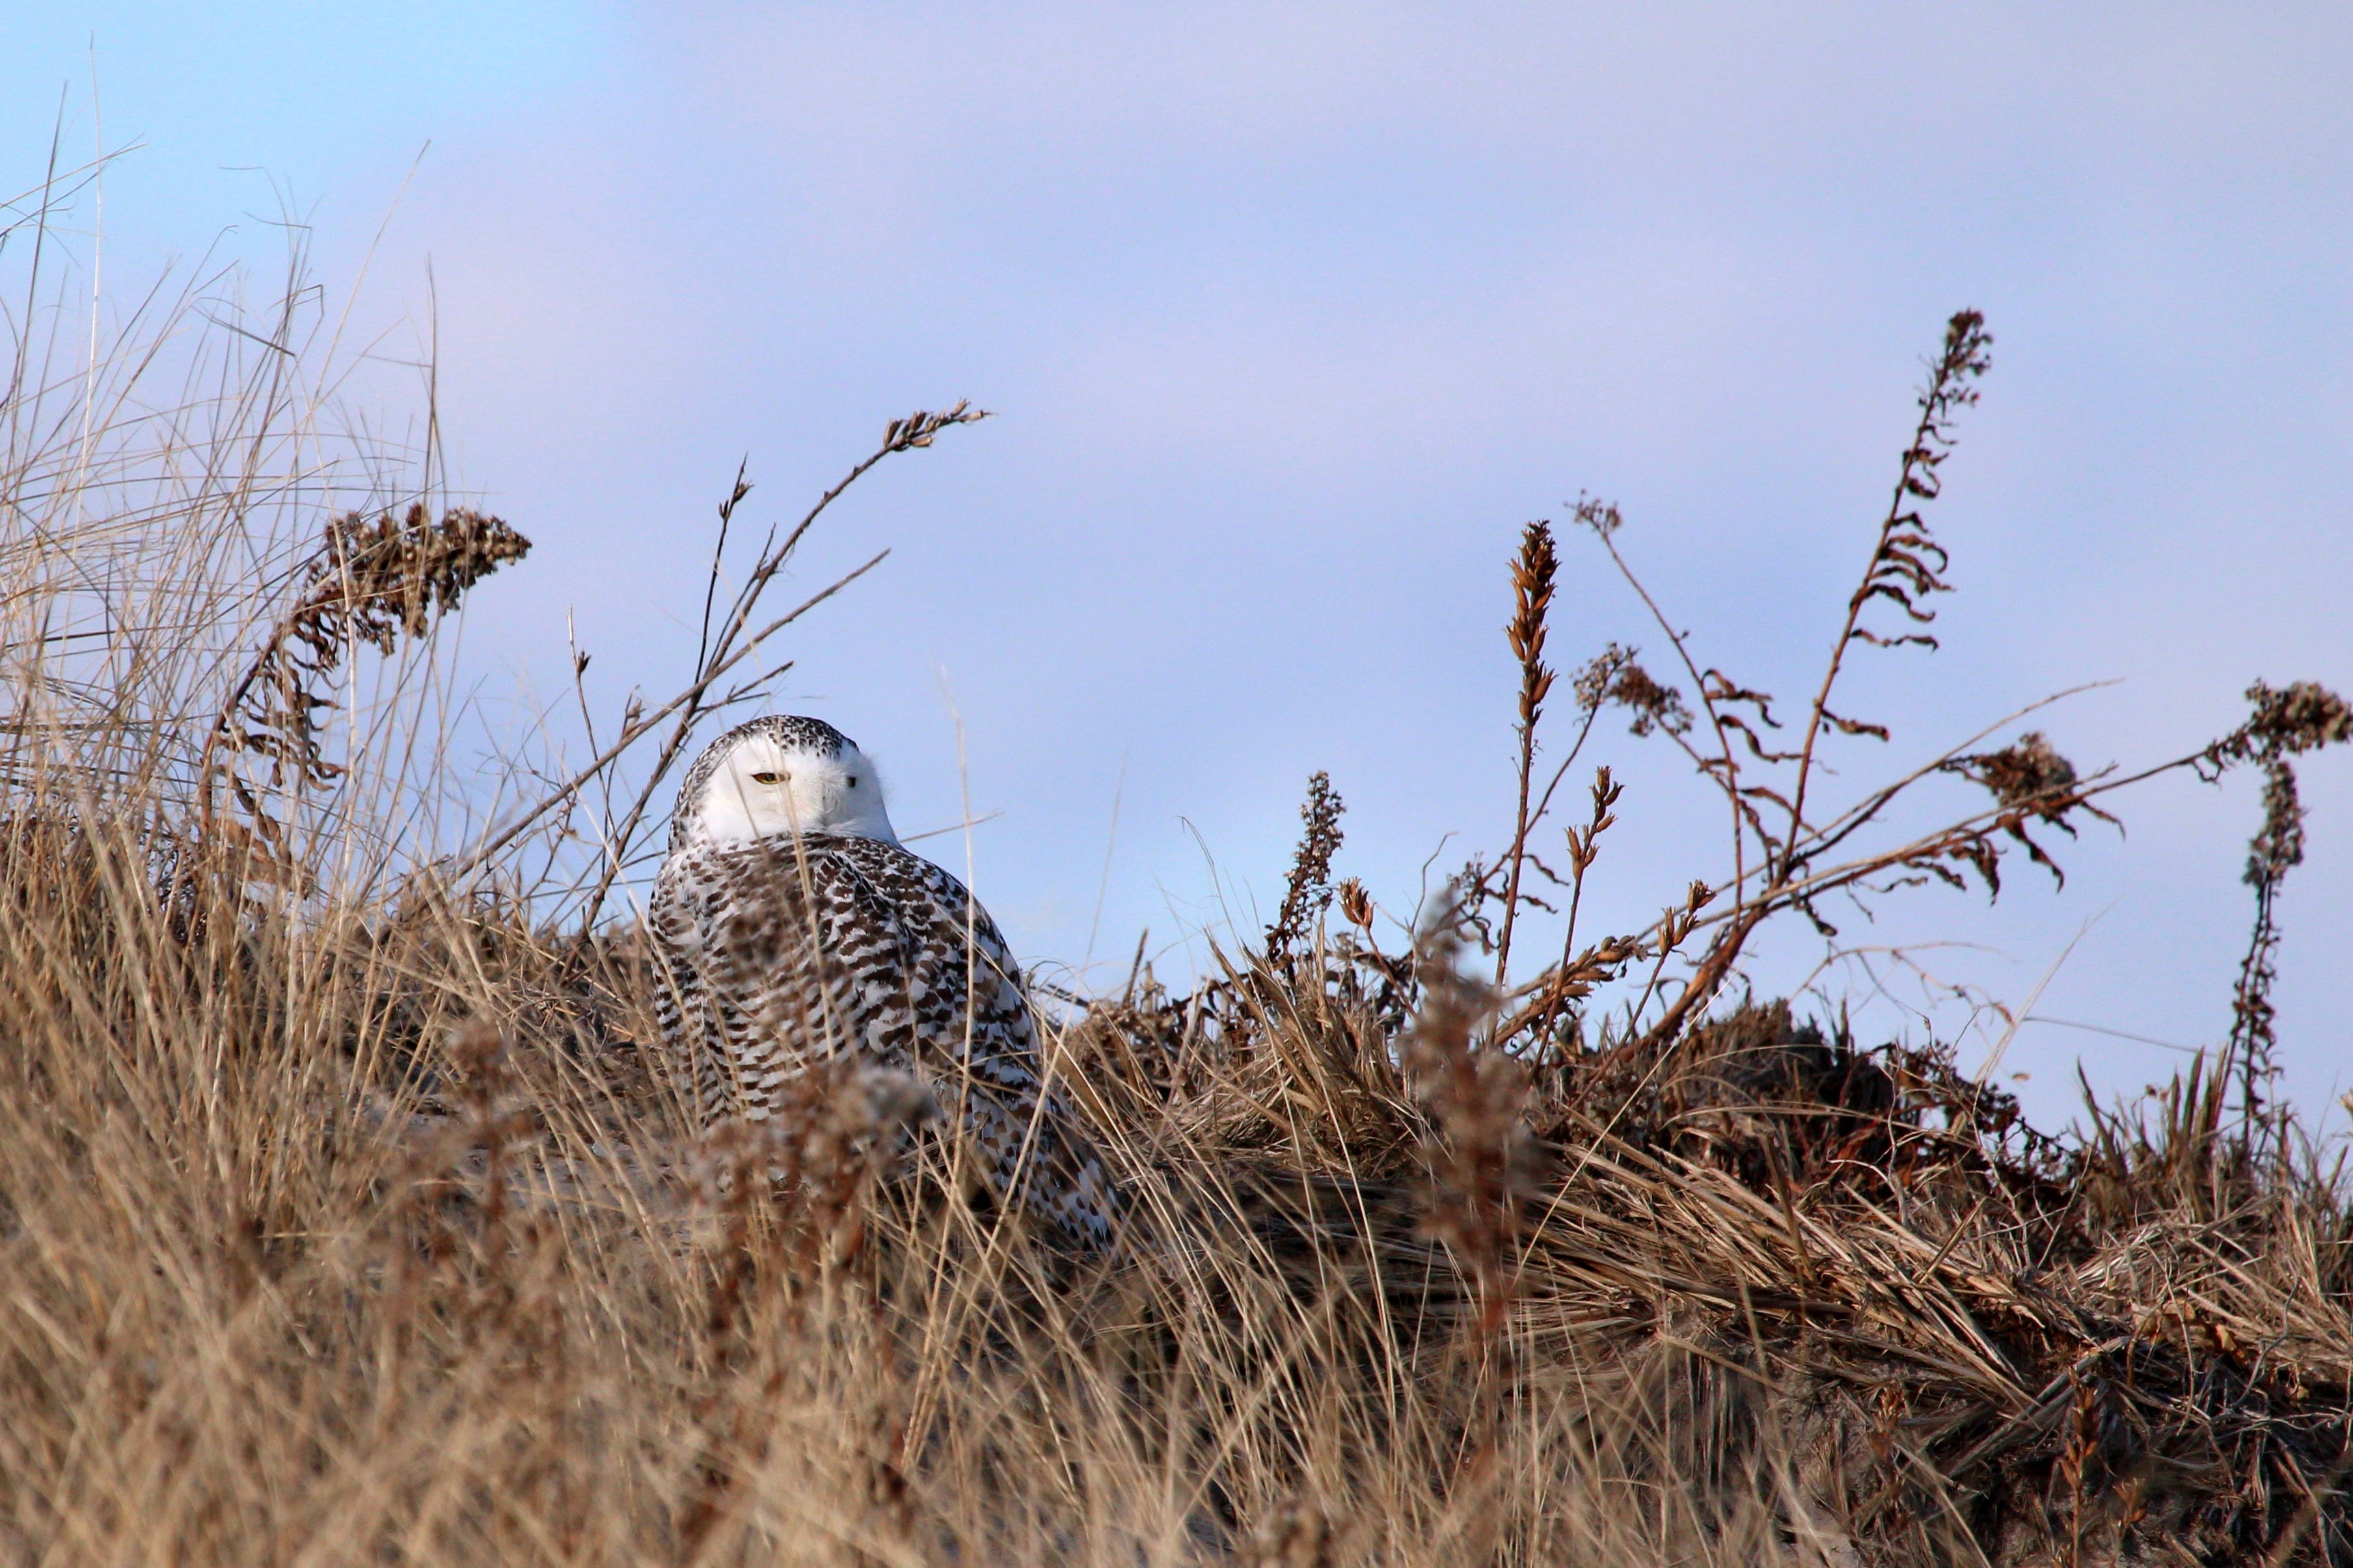
As ecological productivity slows down and food gets scarce (think of winter in northern latitudes), many birds migrate to regions with greater resources. Others remain in place but often shift their behavior away from the showiness of the breeding season, becoming quieter, more secretive, and harder to detect. But the non-breeding season brings its own set of rewards for observant birders.
In areas with deciduous vegetation, year-round residents like woodpeckers, chickadees, and jays may become easier to spot without dense leaf cover. And in many regions, winter birding introduces an entirely new cast of characters—species not present at other times of the year—offering fresh opportunities to expand your familiarity with birds that call your region “home.”
Though often overlooked, the non-breeding period is a vital part of a bird’s annual cycle. Observations during this time can help fill critical knowledge gaps that inform conservation efforts. This is also an ideal season to sharpen subtle field skills that pay big dividends throughout the year: detecting faint movements, tuning in to soft contact calls, and finding birds by behavior or habitat rather than song.
Above all, this season invites a deeper appreciation for the resilience of birds that endure and adapt to cold, scarcity, and challenge, reminding us just how extraordinary even the most familiar species can be.
Pre-Breeding Migration
Across the Northern Hemisphere, as days grow longer and insects emerge with the seasonal green-up, the avian world kicks into high gear. Pre-breeding migration sends waves of birds moving northward across a period of just a few months, sometimes weeks, often adorned in brilliant breeding plumage. Warblers, tanagers, vireos, and shorebirds sweep through local patches—sometimes lingering for just a day or two—turning spring birding into a thrilling treasure hunt.
In this season, timing is everything. Checking your favorite stopover sites regularly can yield surprising rarities and unforgettable encounters (see our Birding Tip on patch birding). Adding strategy by tracking wind patterns, weather systems, and migration forecasts only deepens the experience, helping you make the most of every outing.
Post-Breeding Migration
After the breeding season winds down, birds begin a quieter journey back to their non-breeding ranges. While post-breeding migration may feel more subtle than the vibrant push of spring, it’s no less fascinating—and it moves more birds across the landscape than any other season.
Juveniles migrating for the first time and adults molted into their basic plumage—often duller and harder to identify—begin to disperse as early as midsummer, depending upon the species. Shorebirds are among the first to kick off this period of migration, while songbirds filter through across most of the season. Raptors and waterfowl migrate later still, with some species moving well into winter.
Although the birds may be less colorful, post-breeding migration offers excellent opportunities to sharpen your ID skills. Structure, behavior, and habitat use all come to the forefront when using plumage may be more challenging. The season’s extended timeframe also brings a more relaxed pace—there’s no rush to see everything at once.
Like spring, fall brings its share of surprises. Vagrants and misdirected migrants often appear at stopover sites or wayward points during this period. Keep an eye out for oddities, especially during the shoulder seasons, when the unexpected is most likely to occur.
Pro-tip: In the non-breeding season, birds often segregate by age and sex, both in time and space. Among shorebirds, failed breeders are typically the first to migrate, followed by successful adults, then juveniles a few weeks later. This delay gives young birds time to fatten up without competing directly with adults. In raptors, juveniles often migrate earlier and more coastally than adults, with females generally preceding males. Understanding these patterns can improve your ability to age and sex birds in the field—and may even help crack the ID of that mystery bird in front of you.
Conclusion: Birding with the Seasons
Aligning your birding with the natural cadence of the seasons transforms each outing into a study of change. You become a student of ecology and time, learning to read the rhythms that shape bird behavior throughout the year. Whether you’re learning spring songs, scanning fall flocks, or marveling over winter finches, birding with the seasons sharpens your skills and deepens your connection to the natural world. Each walk becomes something more: fresh, purposeful, and filled with wonder at the cycles of movement, resilience, and return.

Binoculars 101: It All Starts Here
Whether you’re picking up your first pair or getting to know your current ones better, this guide is for you. Binoculars are arguably the most essential tool in any birder’s kit—and thankfully, excellent options exist at nearly every price point. But with so many choices, things can get overwhelming. This article breaks down the essentials to help you choose the right pair or use yours more effectively.
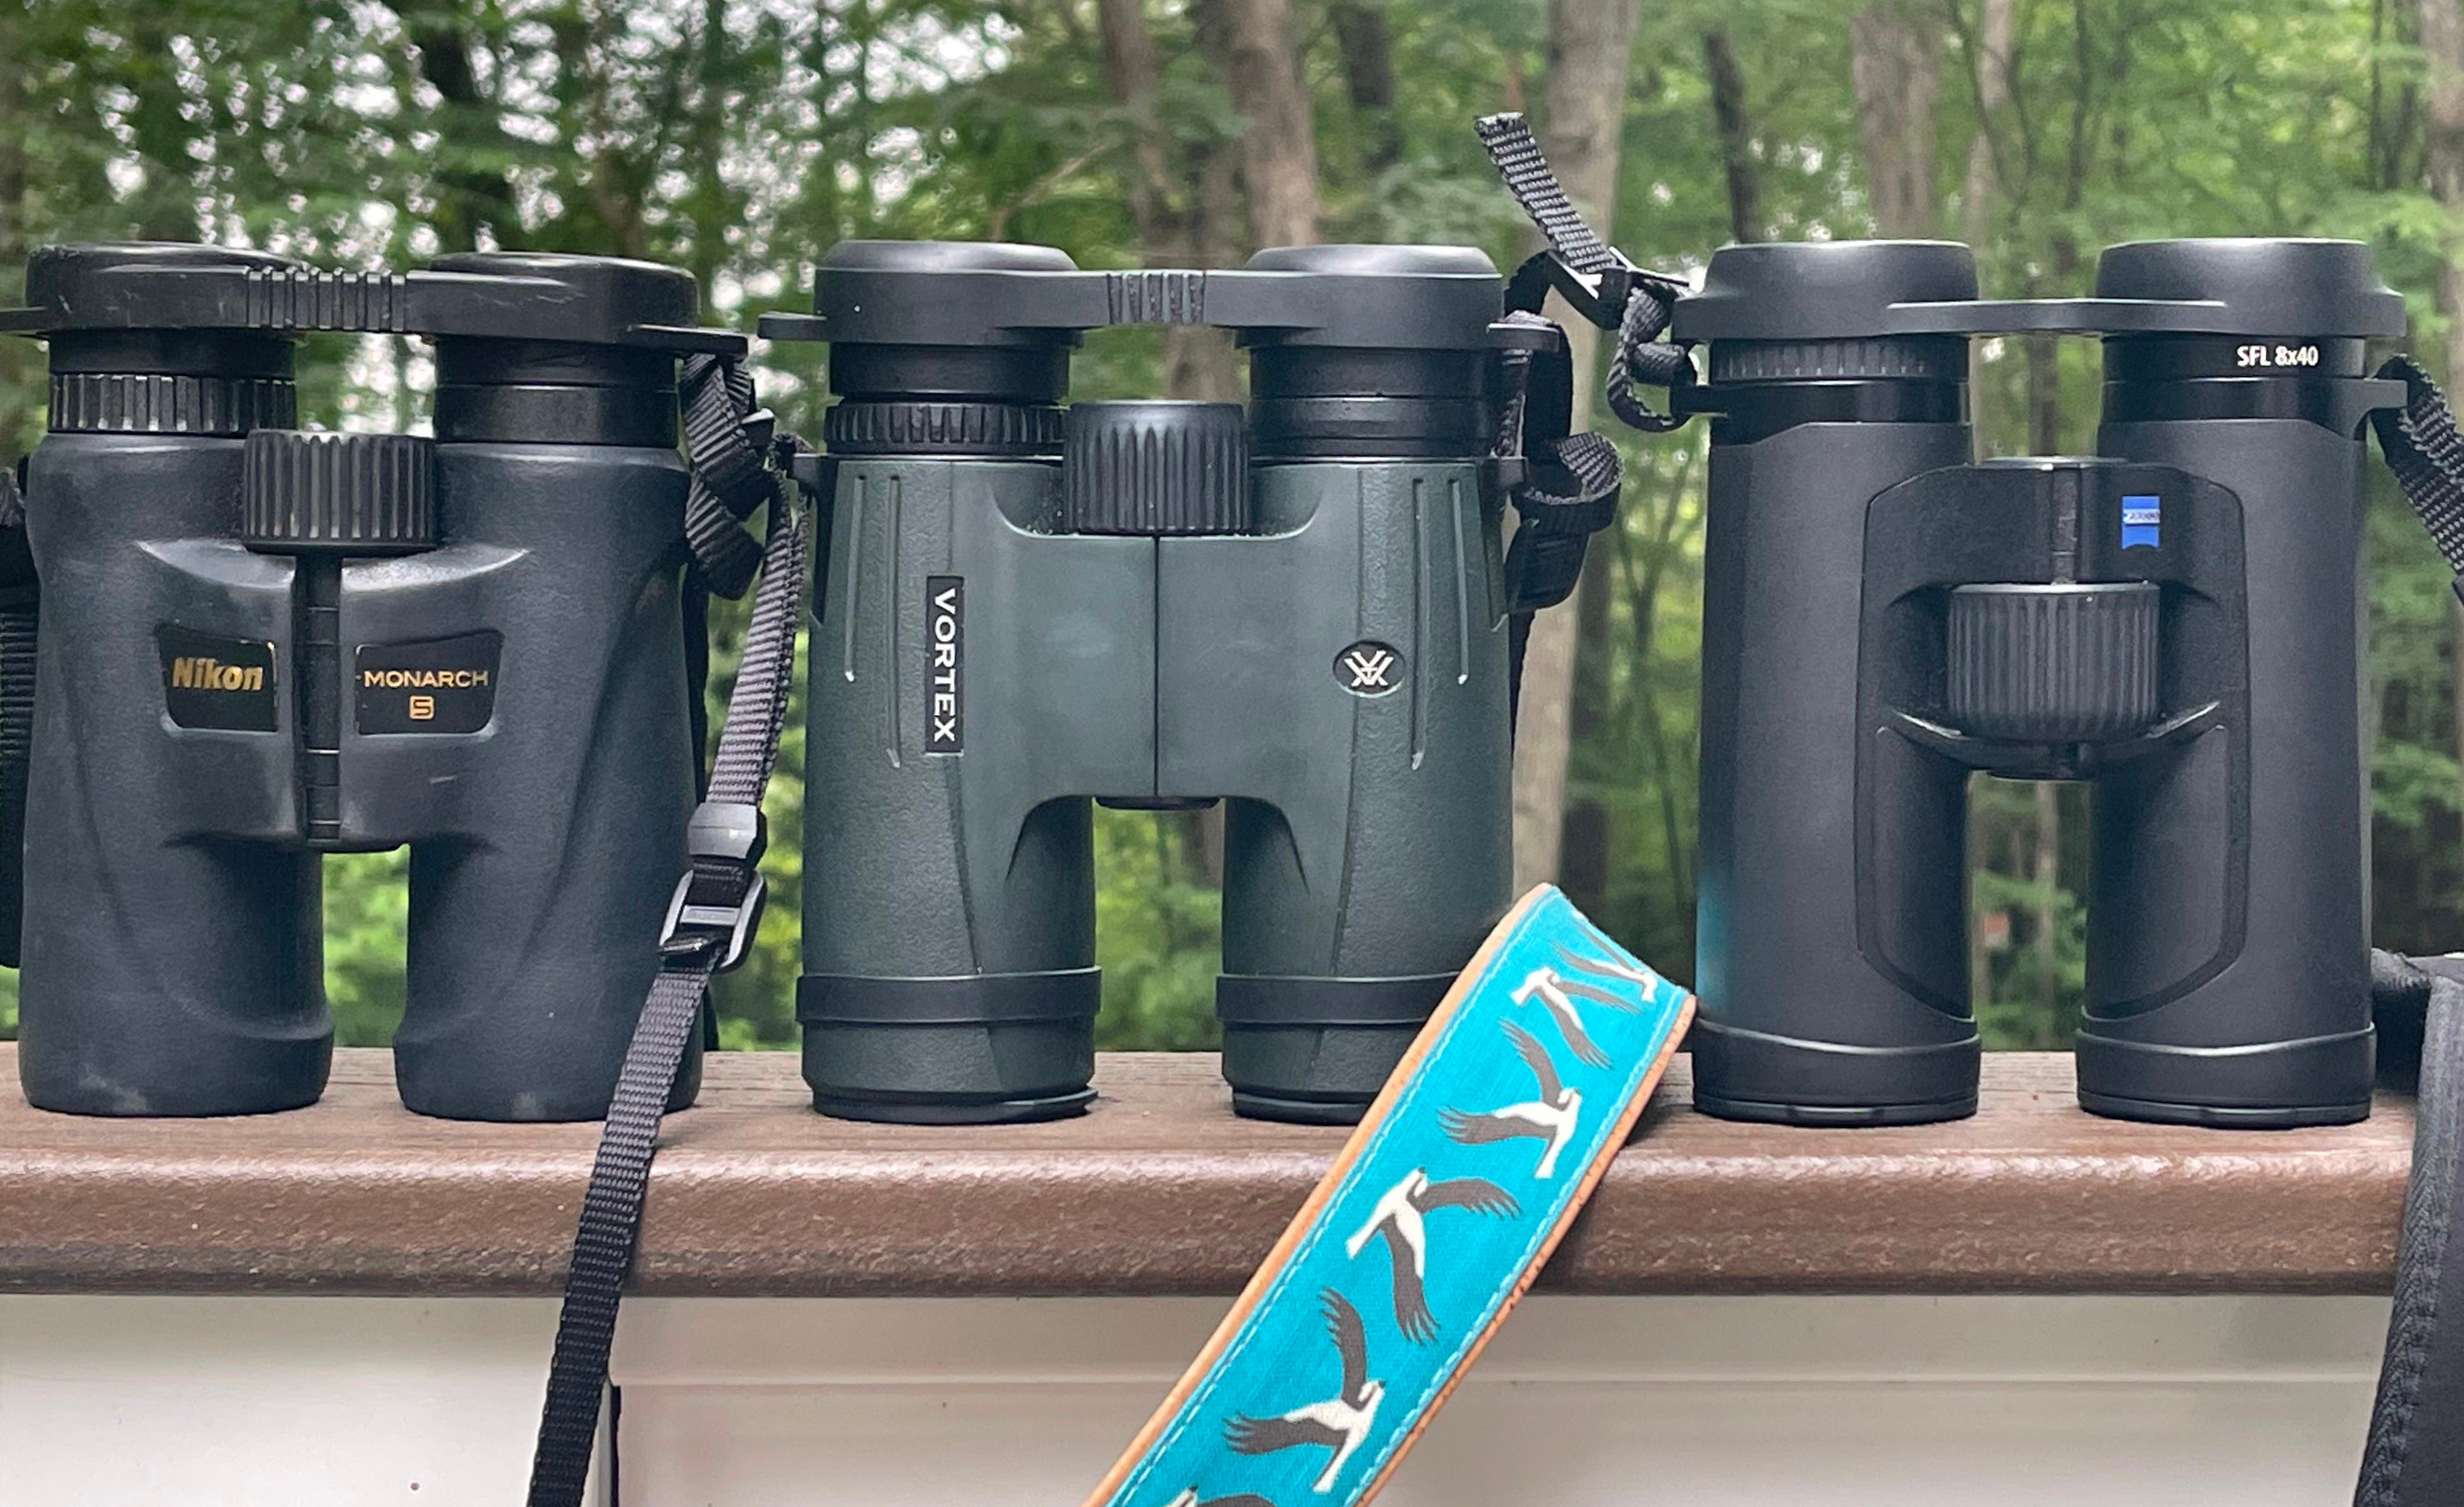
Binocular Types: Porro vs. Roof
Most binoculars come in two styles: porro prism and roof prism. Porro prisms have the classic zigzag shape, with offset eyepieces and objective lenses. They offer excellent light transmission, depth perception, and good fields of view—often at a lower cost. However, they tend to be bulkier and less weatherproof.
Roof prisms, with their straight-barrel design, are more compact, ergonomic, and better sealed. They’ve become the go-to style for most birders thanks to improved handling, waterproofing, close focus, and twist-up eyecups. While their image may appear slightly flatter than porros of equal quality, roof prisms are widely available at every price point—and they dominate the birding world today, with many of the best binoculars on the market falling into this category.
What Do the Numbers Mean?
Ever see “8×42” on your binoculars? Here’s a quick guide:
Magnification (first number): How many times closer objects appear. For reference, your naked eyes are 1x.
Objective lens (the second number, in mm): Located at the front end of the binoculars, these are the glass responsible for gathering light. Larger lenses (such as 42mm) gather more light, aiding in low-light viewing, but they also add weight.
Exit pupil (objective ÷ magnification): The beam of light entering your eye. A ratio of 5 provides ideal brightness. (8×42 = 5.25mm.)
Field of view: The width of the scene you see, often measured in feet at 1,000 yards. Wider fields are better for spotting birds in motion.
Size & weight: Heavier binoculars can cause fatigue. Balance image quality with comfort for your needs.
Choosing the Right Specs
The binocular choice depends on your birding style and comfort level:
8× binoculars are great for most birders. They’re easier to hold steady, offer more expansive views, and perform better in low light or close distances—perfect for forests, backyards, and trailside insects.
10× binoculars provide more reach for open spaces, such as mudflats, coasts, grasslands, or hawkwatches, but they narrow the field of view, typically have lower light transmission, and magnify movement and shakes.
If you’re unsure, start with 8×—especially if you bird in varied or wooded environments. Go with 10× if you want more distance, and don’t mind the extra shake to keep steady.
Before you buy binoculars, be sure to try them out. Borrow a friend’s pair or visit a retailer. You’ll be much happier with optics you’ve held in your hands and tested against your eyes.
Tips for Using Binoculars in the Field
Here are a few quick pointers to get you started in the right direction:
Tuck your elbows in to stabilize your view. Avoid flaring your elbows out; these are your foundation.
Use a neck strap or harness to reduce strain and to avoid drops. Many birders wear the neck strap diagonally across the body like a sling.
If you wear glasses, roll or twist down the eyecups so you can see the full image. If you don’t, you’re missing out on quality images.
Adjust the interpupillary distance (distance between your eyes) until the view merges into one circle. The image should never look like a Venn diagram or what you see in the movies. Two overlapping circles smooshed together require more fine-tuning.
For those with ability issues, please check out Birdability for more resources and tips.
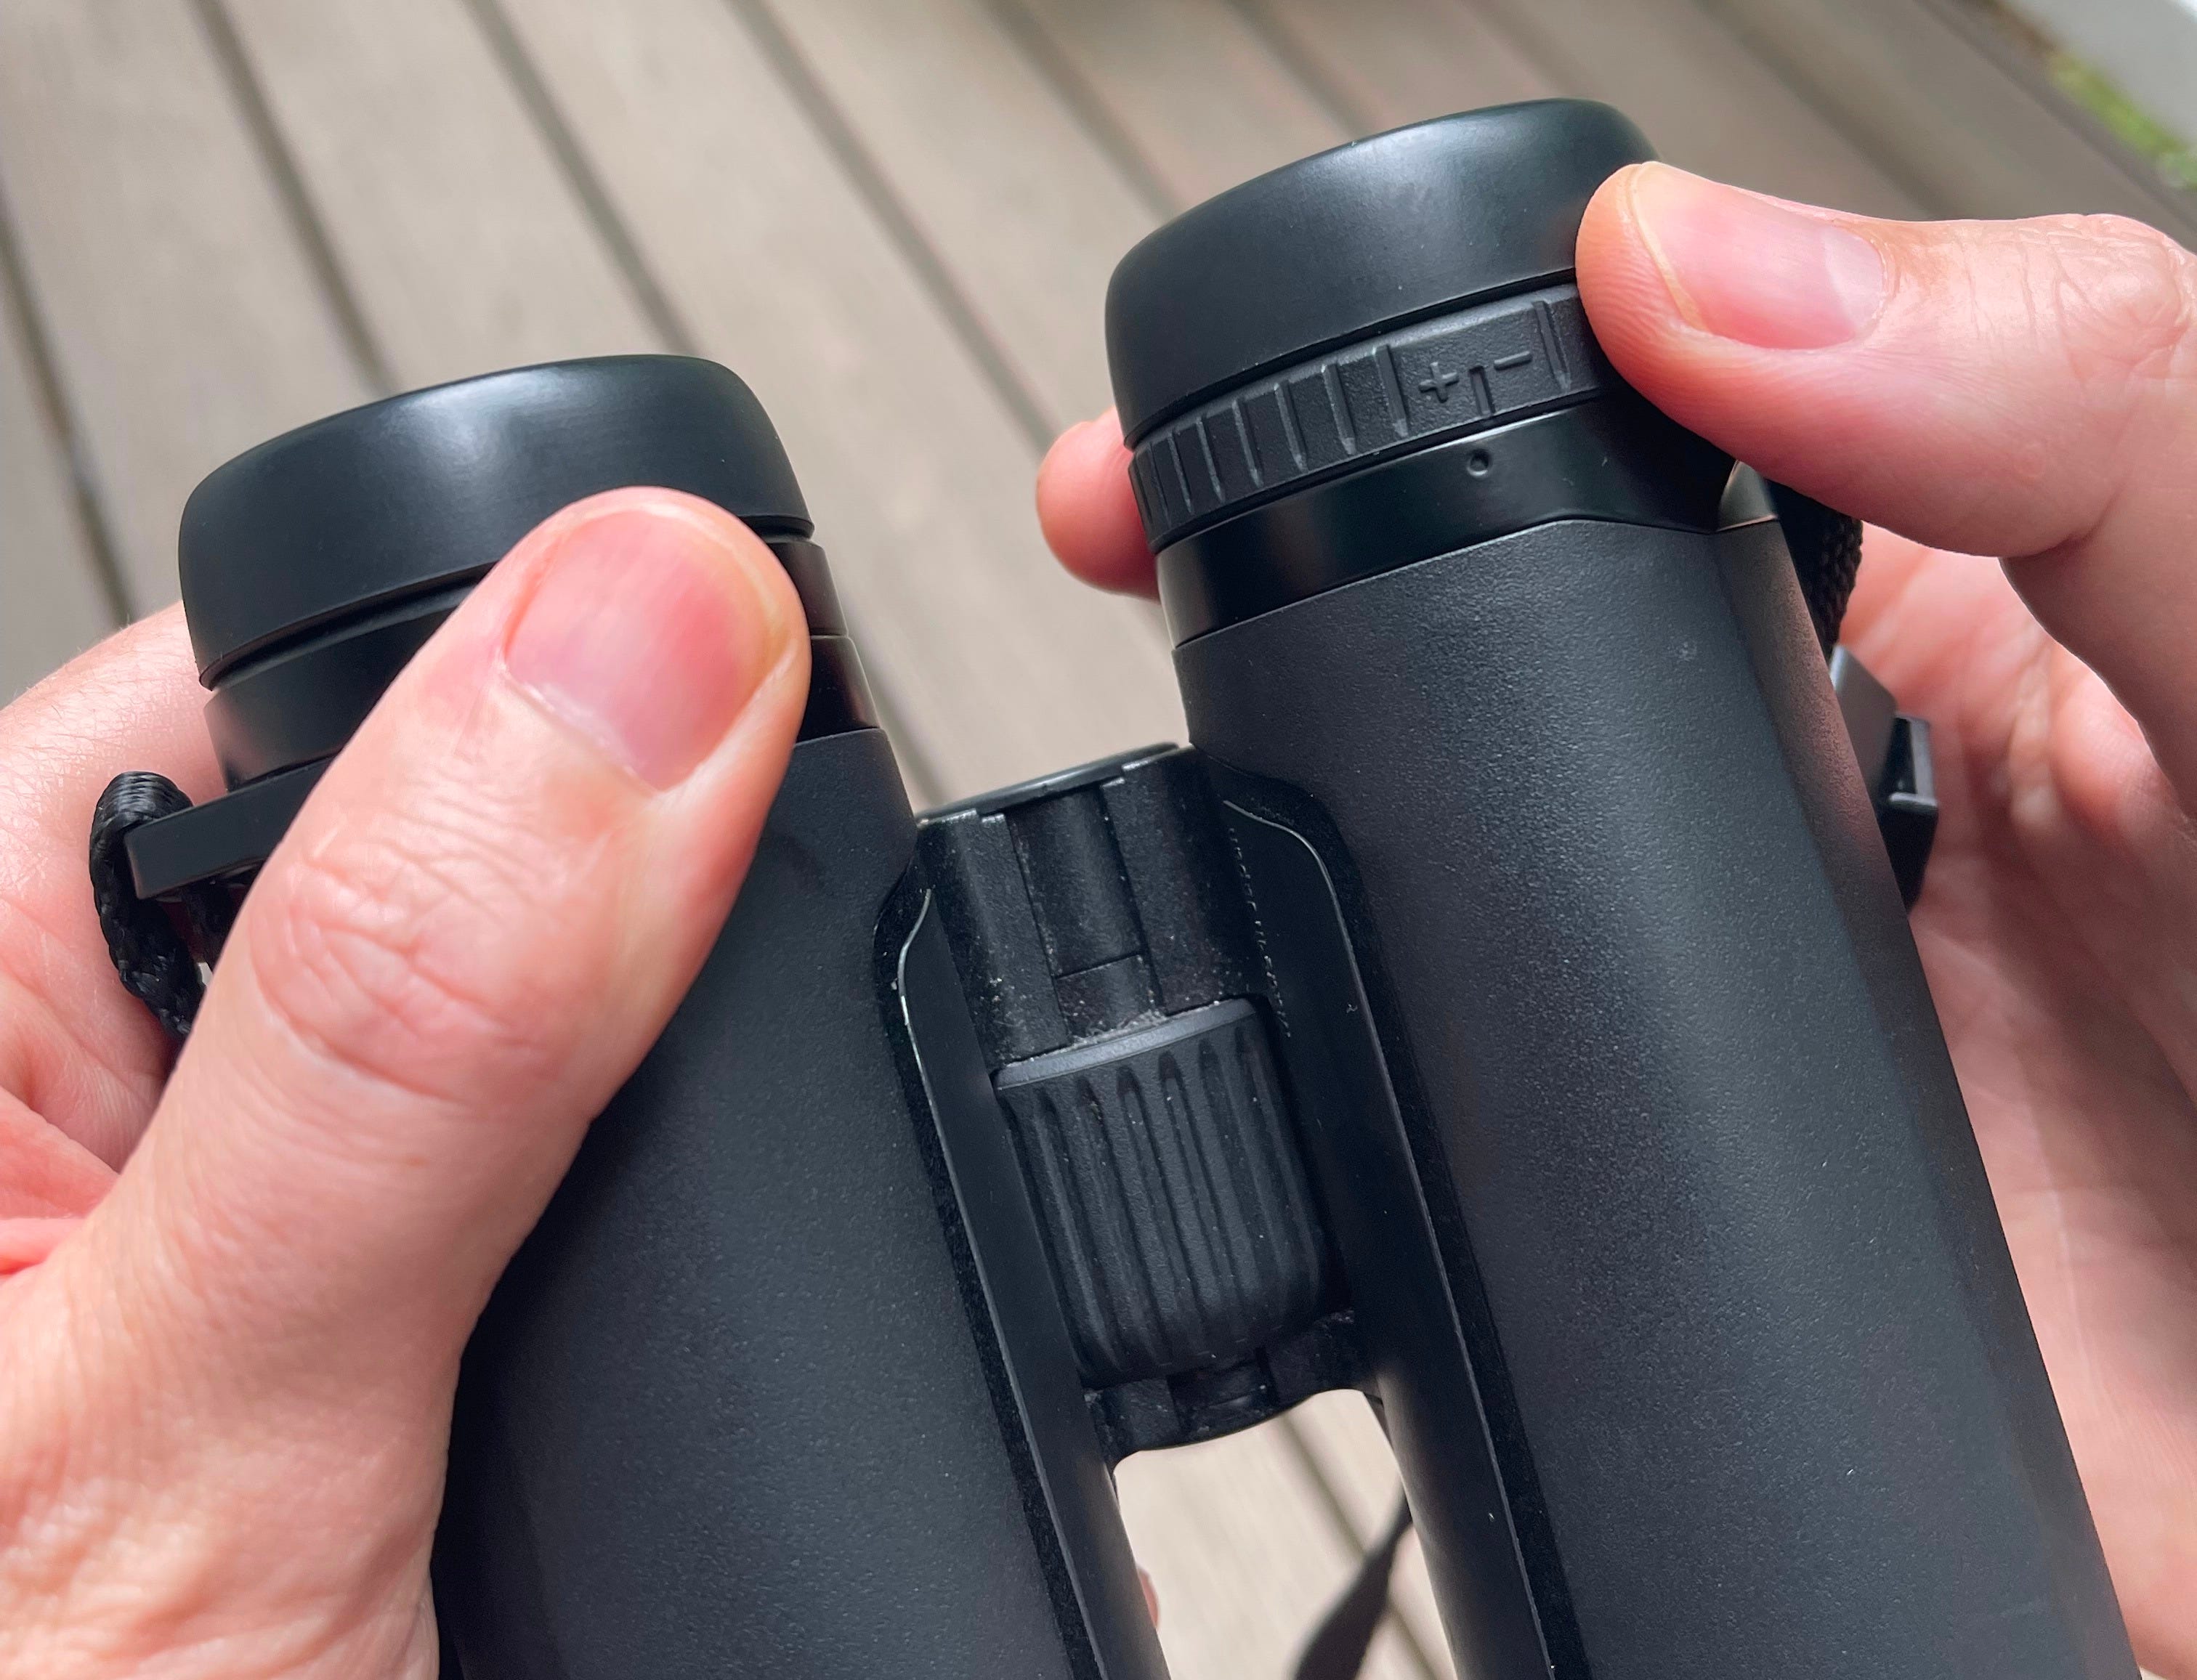
Pro Tip: Dial in your diopter! That small ring near one eyepiece—called the diopter—helps compensate for differences between your eyes. To set it: Close your right eye and use the center focus wheel to sharpen the image with your left eye. Then switch—close your left eye, open your right, and adjust the diopter until the image is crisp. Once it’s set, you’re good to go—no more constant refocusing, just clear, comfortable viewing.
Practice Makes Perfect
Getting your target into your binoculars quickly is a skill worth practicing. First, spot the bird with your naked eye. Then, without looking away, bring your binoculars up smoothly. Over time, your eyes and hands will become more in sync, helping you zero in faster. You’ll even start recognizing familiar branches and structures through the lens, guiding your movements instinctively.
Care and Maintenance
Binoculars are tough but not indestructible. To keep them in shape:
Remove grit with a soft brush or air blower before wiping lenses.
Use lens cloths—never your shirt, tissue, or paper towels, which are effectively wood products and can cause micro scratches.
Please don’t leave them in hot cars or extreme cold temperatures.
Most models are waterproof, but it’s still advisable to avoid getting them soaked. Keep them covered in heavy deluges.
After salty or dusty outings, rinse them with fresh water and wipe them down, then let them air dry.
Store in a dry, padded case when not in use.
For quick cleaning in the field, lens wipes or sprays with a microfiber cloth work best—but in a pinch, a gentle lick can clear ocean spray.
Looking Ahead
Binoculars aren’t just gear—they’re your bridge to the birds you love. Understanding how to use them well is one of the most foundational birding skills you can build.
Whether you’re upgrading or just getting to know your pair better, we hope this guide helped. And we’re just getting started. In future newsletters, we’ll dive deeper into the world of optics.
Weekly Poll
If you answered “yes,” please share in the comments which binoculars you own—and what you love or dislike about them. We’d love to hear your thoughts!
Thanks for Reading
We’re thrilled to welcome so many new readers this week—our biggest week of growth yet! This developing community means the world to us, and we’re working hard behind the scenes on our first paid newsletter and more ways to connect with you through the Birding University ecosystem.
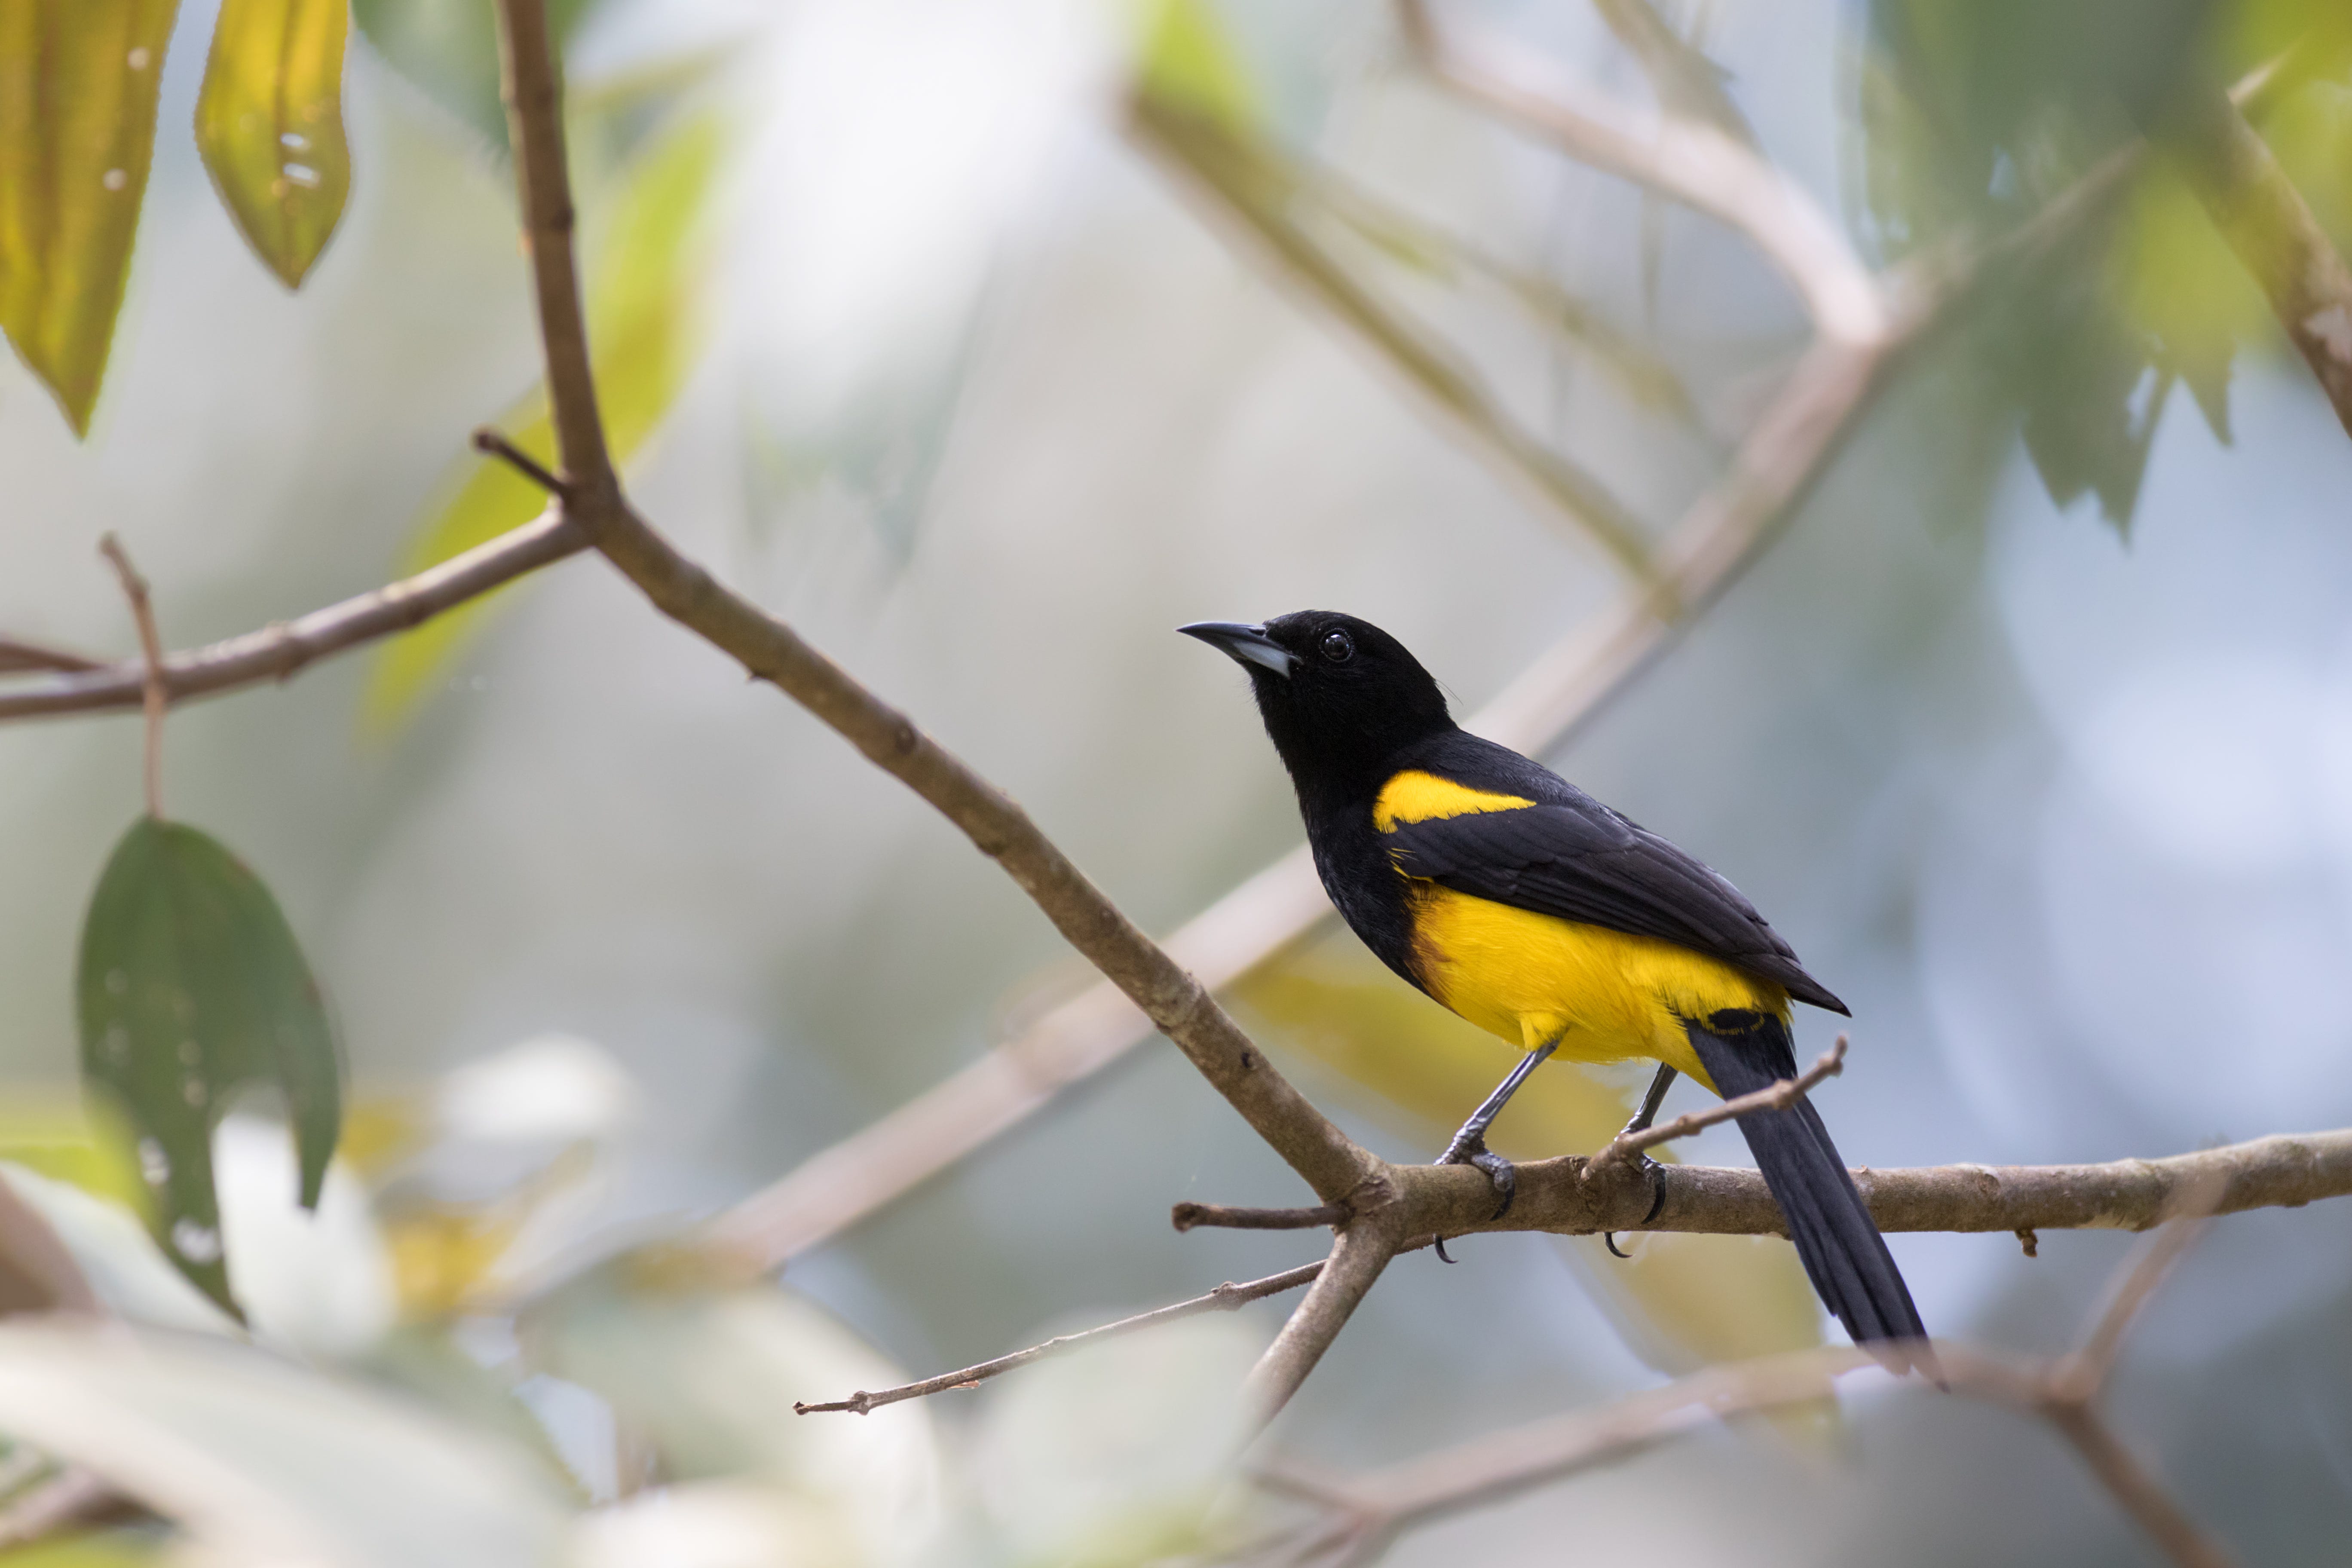
* Please visit Phil Stollsteimer Photography for more amazing bird photography.
How effective are image stabilization models?
The exit pupil calculation is 42/8 = 5.25mm in the example. Thogh it seems it is commonly expressed as 8x42.
I also noted here.... https://en.wikipedia.org/wiki/Exit_pupil
That the exit pupil gets smaller with age. Does anyone buy with this in mind?