


Foundations of Field ID: Size & Shape
The fastest way to start identifying birds—learn to recognize them by their outline, posture, and proportions before anything else


Welcome to the birdy side of the internet! This week’s edition is packed with goodies—from a fascinating look at historic breeding records in This Week in Birding History to practical advice for keeping hummingbirds happy in our weekly Birding Tip. We’re also shaking things up just a bit: our Bird’s Eye View section is taking a brief pause to make room for something foundational—learning how to identify birds by size and shape. It’s part of our monthly focus on bird ID. Whether you’re just starting or looking to sharpen your skills, this is where your field ID journey truly begins.
This Week in Birding History: Historic Breeding Records Matter
June 9, 1929 — As the breeding season progresses throughout North America, we go back to some of the earliest breeding bird data ever submitted to eBird. Although this community science database was launched in 2002, willing volunteers have transcribed archived diary notes dating back to the early 1800s. Some of the oldest checklists come from members of the Delaware Valley Ornithological Club (DVOC).
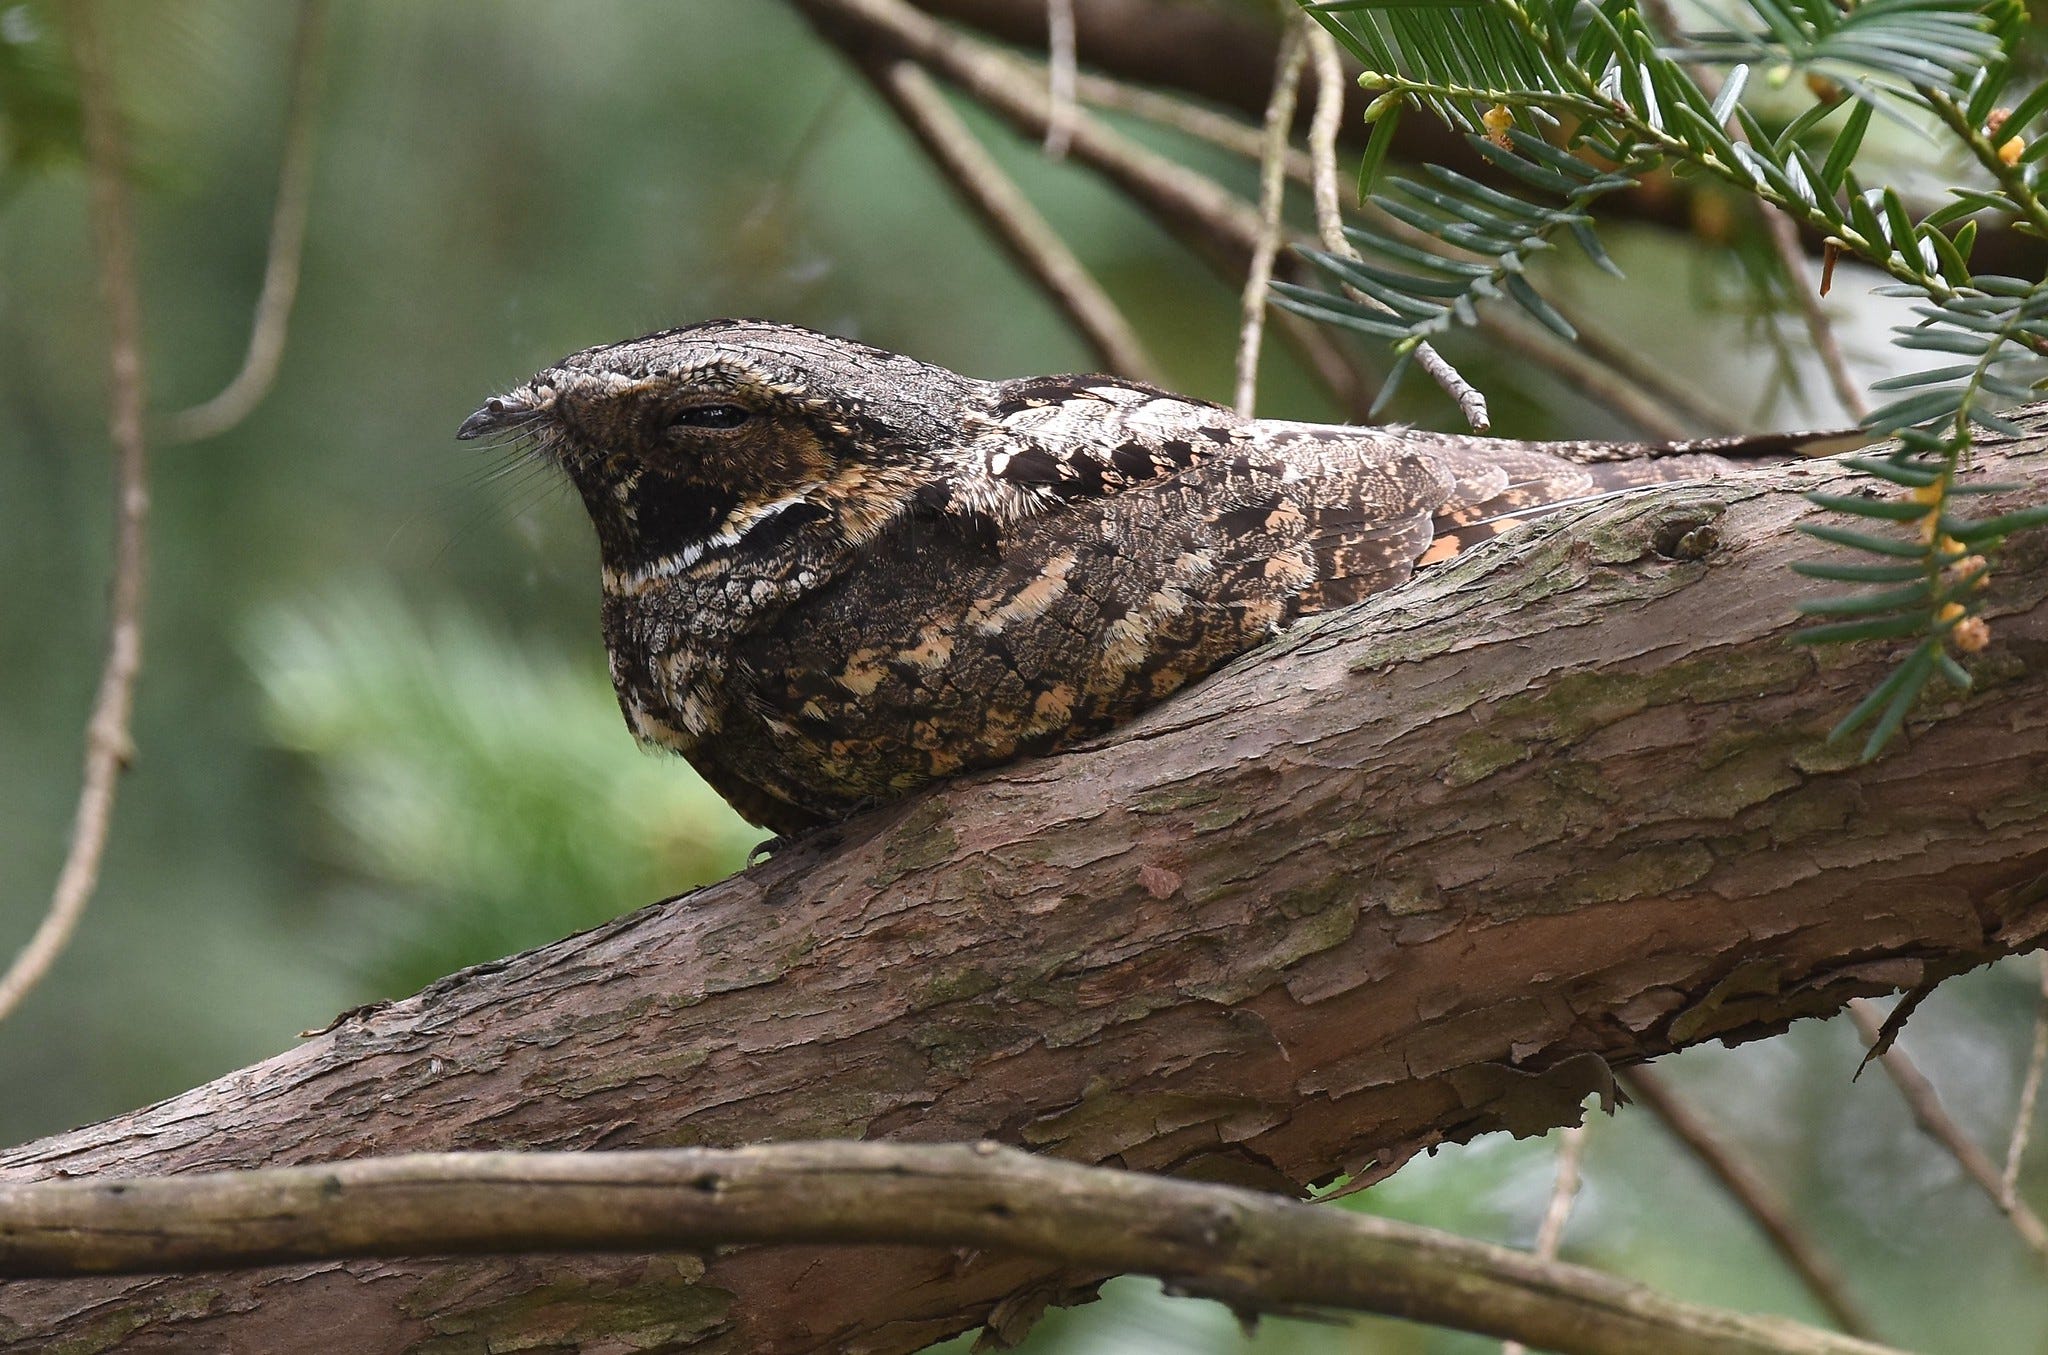
Ninety-six years ago this week, DVOC member Julian Potter traveled to Cape May, New Jersey, and recorded 48 species, including breeding Eastern Whip-poor-wills (nest with two eggs), Northern Flickers (nest with five young), a male and female pair of Orchard Orioles, and nesting Fish Crows and Chipping Sparrows. While most of these species continue to breed on Cape May Island, New Jersey’s declining population of Eastern Whip-poor-wills has since contracted to a handful of strongholds within pine barren forests.
Thanks to the dedication and notetaking of early birders like Potter—and the ongoing efforts to preserve and digitize their records—we’re able to trace decades of breeding bird changes, offering vital context for the patterns we see today.
Birding Tip: How to be an Excellent Hummingbird Host
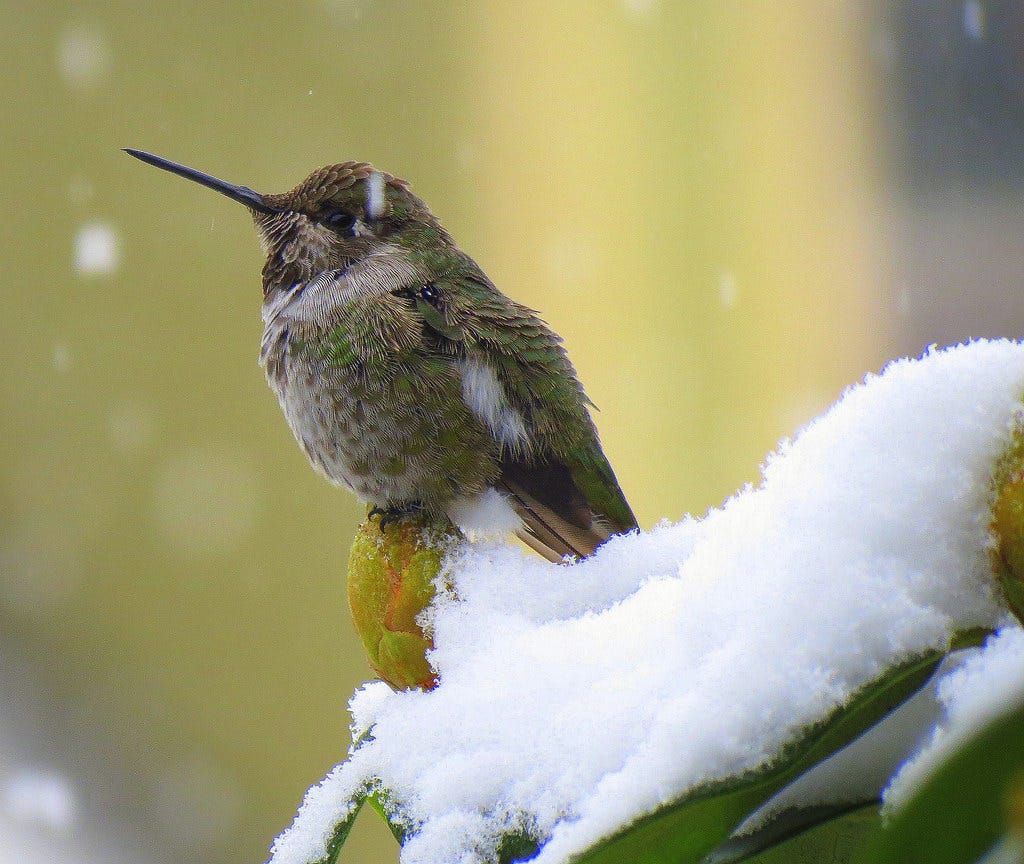
If you read last week’s issue, you learned about the fascinating range expansion of Anna’s Hummingbirds, driven in part by the growing popularity of hummingbird feeders over the past century. But feeders are more than just agents of change; they’re also a beautiful addition to any outdoor space, offering an intimate glimpse into the lives of one of the most enigmatic bird families in the Western Hemisphere. That said, they do require minimal but consistent maintenance to ensure the health and safety of your local hummingbirds. Here’s the basics.
Hummingbird Feeder Basics
To keep your hummingbirds healthy and happy, start by mastering the nectar mix. There’s no need to buy premade solutions—the recipe is as simple as it gets: four parts water to one part white granulated sugar. Skip the raw, brown, or Turbinado sugars, which contain minerals that can harm these high-energy birds. Simply boil the water, stir in the sugar until it is fully dissolved, and let the mixture cool before filling your feeder.
This straightforward recipe closely mimics the natural sweetness of flower nectar, making your feeders both safe and appealing. And remember—there’s no need to add red food coloring or artificial dyes. Most feeders already feature red parts to attract hummingbirds, and even plain feeders will still be found by your local hummers.
So, which style of hummingbird feeder is best? Whether you choose a bottle-style or saucer-style feeder, the best option is one that hummingbirds can empty within 1–3 days. Smaller feeders are ideal, not because they look cuter, but because they help prevent nectar spoilage and encourage regular cleaning. Look for feeders made from glass or high-quality plastic, with large feeding ports and components that are easy to disassemble and scrub. Red accents can help attract hummingbirds, but they’re not essential. And if possible, skip feeders with yellow bee guards, as these may actually attract unwanted insects. And finally, a built-in or add-on ant moat is always a smart bonus.
Cleaning Feeders
Your nectar feeder needs regular cleaning to stay safe and inviting. In cooler weather, aim to clean and refill it twice a week. As summer heat sets in, increase the frequency to every other day or even daily during extreme heat. Use hot water or a diluted vinegar solution to rinse away mold and grime, and skip the soap or bleach, which can leave behind harmful residues. Cleanliness isn’t just a courtesy, it’s essential for the health and safety of your fast-winged visitors.
Timing and Migration
Wondering when to hang your feeders? Hummingbird arrival times vary depending on your latitude. In the United States, hummingbirds are present year-round along the Pacific Coast, the Southwest, and the Gulf Coast. However, across much of the northern United States, these tiny travelers begin returning in early to mid-spring, with many species migrating north from Mexico. For Ruby-throated Hummingbirds, the journey may start in Central America. To time your feeders just right, check out eBird’s Bar Charts tool, which shows local arrival trends. We also love Audubon’s Bird Migration Explorer for a deeper look at how and when hummingbirds (and other migratory species) move across the continent. And don’t be too quick to take feeders down in the fall—many vagrant hummingbirds arrive late, and your feeder could offer a crucial energy boost during their long journey or if they overwinter.
Foundations of Field ID: Size & Shape
Field ID Overview
There’s a special kind of joy in learning to recognize birds—like picking up a new language. Each new bird you learn becomes a word, a phrase, a story you can suddenly understand in the broader conversation of the natural world. Field identification opens a doorway to deeper connection by sharpening your awareness, slowing your pace, and inviting a kind of presence that’s increasingly rare in today’s distracted age of doomscrolling.
With more than 11,000 species of birds worldwide and over 1,000 in the United States, it can feel like bird identification is reserved for experts or lifelong naturalists. It’s not. With curiosity, attention, and a few key tools, anyone can learn to identify birds with confidence. And it starts with a strong foundation.
Editor’s note: A gentle reminder—field ID isn’t about perfection; it’s about process. It’s not about getting it right every time. It’s about learning to see more deeply and experiencing the world with intentionality. By doing so, our lives become richer—and the birds benefit, too.
Flip through a field guide, and it quickly becomes obvious: many birds look similar, especially at a glance. Look no further than a page of sandpipers, flycatchers, or thrushes to see how overwhelming it can be. Even colorful wood warblers—so varied in appearance during the breeding season—can blur together in the field.
For beginners, the temptation is often to jump straight to fine field marks. After all, that’s what all the arrows and text in field guides are pointing out, right? Wing bars, eye rings, streaks on the flanks, and undertail coverts. But starting there can lead to frustration. Those details are helpful only after you’ve already narrowed things down.
Let’s say you spot a brown bird with a streaked chest on the ground. It could be an American Pipit, a Savannah Sparrow, a Song Sparrow, or even a waterthrush. Field marks like yellow lores can help you narrow it down to Savannah Sparrow—but only if you already know you’re looking at a sparrow in the first place. That’s where size and shape come in.
At Birding University, we advocate for a holistic approach to field identification. Before color. Before markings. Before your app. Begin by observing how the bird appears and moves in its environment.
Think of recognizing a loved one walking toward you, silhouetted against the sun on a busy city street just before sunset. You don’t need to see the Badmotorfinger album cover on their favorite Soundgarden t-shirt (a field mark) to know it’s your brother—you know them by their frame (height, weight, build) and their posture [size and shape], and the way they walk [behavior]. Bird ID works the same way. Before you notice fine field marks, you notice size, structure, posture, and movement. Those impressions are often your fastest and most reliable clues to get you on the right path.
Pro tip: When you spot a bird you don’t recognize, resist the urge to open your field guide or Merlin app right away. First— watch. Describe the bird to yourself. How big is it? What’s its shape? Is it compact or lanky? Does it hop, walk, or flit? Where is it perched, and how does it move?
These questions sharpen your eye and build your birding instincts. Not only do you risk losing the bird while you’re busy flipping pages or tapping buttons, but by slowing down and focusing on observation first, you’ll train yourself to see—and that’s how learning sticks.
Size & Shape
This month marks the start of a four-part series on the foundations of bird identification. We’ll cover Size and Shape, Color Pattern, Behavior, and Habitat—the tools expert birders rely on in the field that work just as well for beginners. We begin with Size and Shape because it’s the quickest way to narrow down what you’re seeing. Start by focusing on the overall outline, then zero in on the details within.
This concept is closely tied to what many birders refer to as GISS (General Impression of Size and Shape). It’s that instant, intuitive “feel” of a bird. GISS is what allows seasoned birders to ID birds in flight, backlit on the horizon, or barely peeking through a thicket, all at a glance. It’s the same way you instantly recognize Dwayne “the Rock” Johnson, no matter what role he plays. It’s not magic—it’s trained attention and repetition.
When it comes to size and shape, while watching birds, ask yourself:
How big is it compared to a bird I know (sparrow, robin, crow, goose, heron)?
What’s its overall shape—plump, streamlined, angular, sleek?
How long is its tail? Rounded or forked?
Are the wings long or short? Pointed or rounded?
What’s the posture—upright like a flycatcher or horizontal like a sandpiper?
Grouping and Mental Catalogs
Just like people, not all birds that share similar qualities are closely related. Two birds might both be black and white, but that doesn’t mean they belong to the same family. Consider Western Gulls, Common Murres, Downy Woodpeckers, Swallow-tailed Kites, and Black-and-white Warblers. Despite some shared characteristics, such as black and white colors, these species belong to entirely different groups: gulls, alcids, woodpeckers, raptors, and songbirds. So, how do we begin to tell them apart? Size and shape.

Start thinking in terms of bird types: waterfowl, raptors, thrushes, sparrows, warblers, and so on. Even if you can’t yet name the exact group or family, simply narrowing your focus to a general type helps tremendously. That way, when you spot a “black-and-white bird,” you’re not comparing a Blackpoll Warbler (songbird) to a Dovekie (seabird)—you’re working within the right group (Blackpoll Warbler vs. Black-and-white Warbler). Over time, these categories become instinctual. Regularly flipping through a field guide can help you better understand groups.
And remember: size can be difficult to judge in the field, so compare the bird in question to those nearby. Is that mystery gull larger or smaller than the familiar Ring-billed Gulls standing next to it? Contextual size comparison is one of the most powerful tools you have, especially when scanning mixed flocks of shorebirds, waterfowl, or blackbirds.
Beyond overall size, measuring a bird against itself is a slightly more advanced but invaluable skill. This approach can be especially helpful when a bird is by itself. How long is the bill compared to the depth of the head? Where do the wingtips fall relative to the tail? Does the neck look long or short in proportion to the body? These internal proportions can unlock an ID when an estimate of overall size is impossible on a solo bird.
Examples:
Greater vs. Lesser Yellowlegs: These similar-looking shorebirds differ in proportions. The Greater’s bill is longer than its head and often slightly upturned, while the Lesser’s is shorter, straighter, and typically equal to or just shorter than the head length.
Downy vs. Hairy Woodpecker: These two species share an almost identical color pattern, but their bills often reveal the difference. The Hairy Woodpecker’s bill is nearly as long as its head; the Downy’s is noticeably shorter, about half that length and more petite.
Practice & Progress
Don’t worry if this doesn’t come naturally right away. Even the most seasoned birders started out puzzling over robins and chickadees. Focus on comparing silhouettes. Practice watching and describing what you see. Try sketching birds if it helps cement details. And most importantly, get to know your local, common species inside and out—they’ll become essential reference points as your skills grow.
So, with size and shape covered, where do we go from here?
Every first week of the month, the back half of the Birding University newsletter will focus on bird identification. We’ll build up from the basics and, over time, move into more advanced techniques. For now, we’re focused on laying a strong foundation to help you level up your field ID.
Next up: Color Patterns. Coming up in July, we’ll explore how a bird’s colors—and where they appear—play a key role in identification, especially when combined with size and shape. Check back next month to continue building your field ID skills.
Weekly Poll
Thanks for Reading
We’re over a month into this journey, and we couldn’t be more grateful to have you here. Whether you’ve been birding for decades or just picked up your binoculars this spring, thank you for being part of this growing community. Birding University is still in its early days, but together, we’re building something special—an inspiring space to learn, connect, and celebrate the joy of birds. Your curiosity, feedback, and presence mean the world to us.
* Please visit Phil Stollsteimer Photography for more amazing bird photography.